
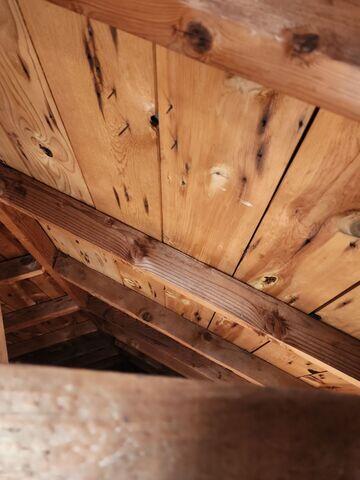
Before cutting attic vent hole
We found the best place to locate the new duct work system.

Air sealing issue
We found some additional areas of concern. This is a prime spot for air to flow freely into and out of the attic. This needs to be sealed off.
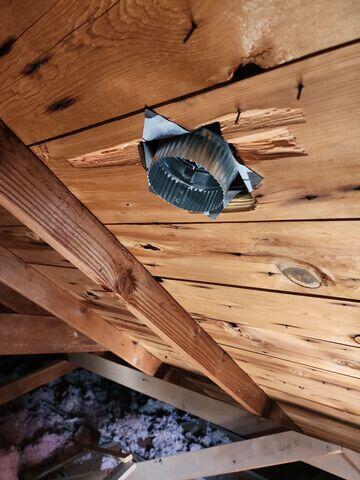
Duck work installation
We decided to place this duct work near the middle of the roof. Here is a view of the vent from the attic prior to adding the tubing.
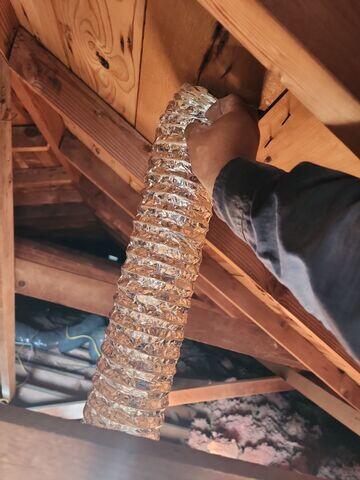
Tubbing installation
Here we are pre-measuring to masked sure we have enough tubing to reach its destination.

Roof vent placement
We cut out a section of roof to complete the new ventilation system. We made clean and precise cuts to make sure this is properly sealed.
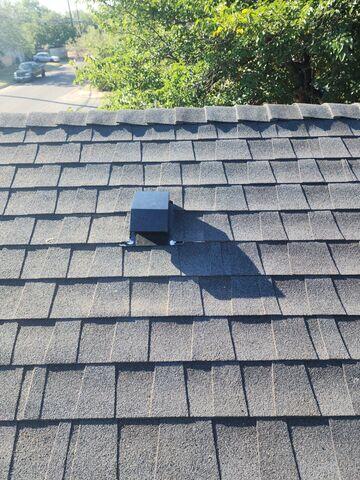
Vent Cap is complete
We use rust-free, galvanized steel to make sure this vent cap looks great, can withstand mother nature, and last for decades to come.
